|
|
|

Making An Embroidery Template With Embird
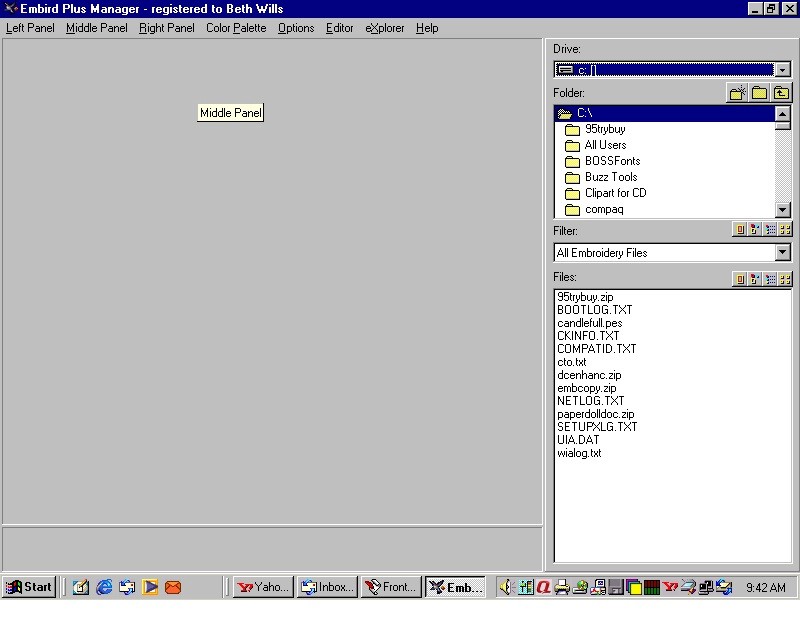
First open the
Embird Program
This is what you will see when you open the program.
Now you need to find your design!
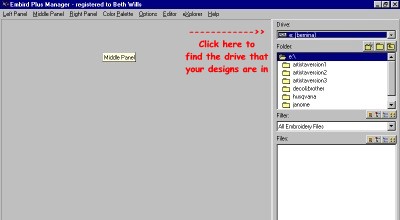
Find the right drive.
If you are using the designs from
the CD that came from the book, you will need to click on
the little box next to the "Drive" until you see your CD drive come up.
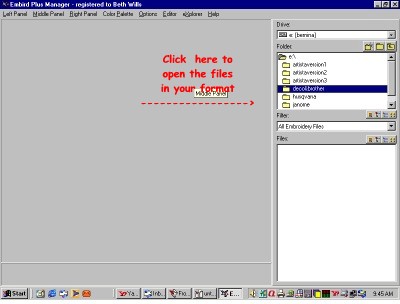
Now that you have your drive
up, you should see a list of folders.
There is one folder for each machine format.
Click on the folder for your machine format.
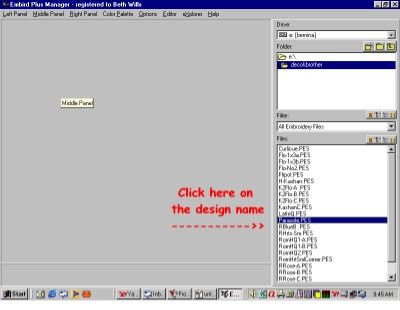
Now click on the design name.
This will bring you design up
into the "Manager" portion of Embird.
Now you need to click on "Editor" to bring the design into the editor
portion of the program.

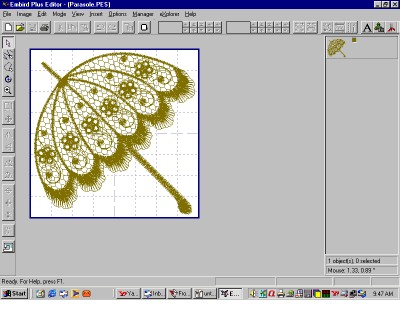
This is what the design looks like in Embird Editor.
Now all that is left is to print out the template.
Click on File - then on "Print Template".
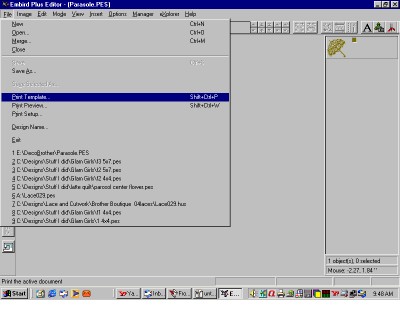
That's it!